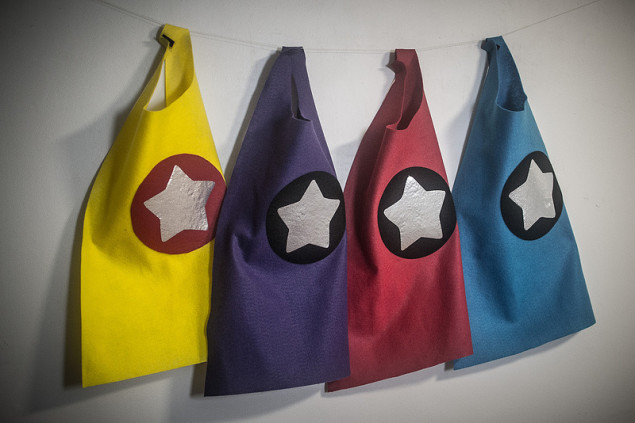
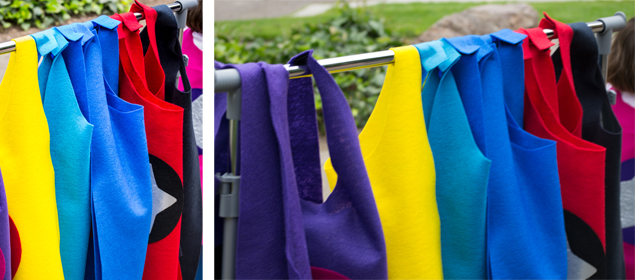
I decided that I would create some easy felt superhero capes for B’s fifth b’day but knowing my current level of dedication to crafty ventures I did not want to take on more than I could handle so these little capes are very simple, no-sew and inexpensive! Woo-hoo! Ok on with the deets ….
MATERIALS:
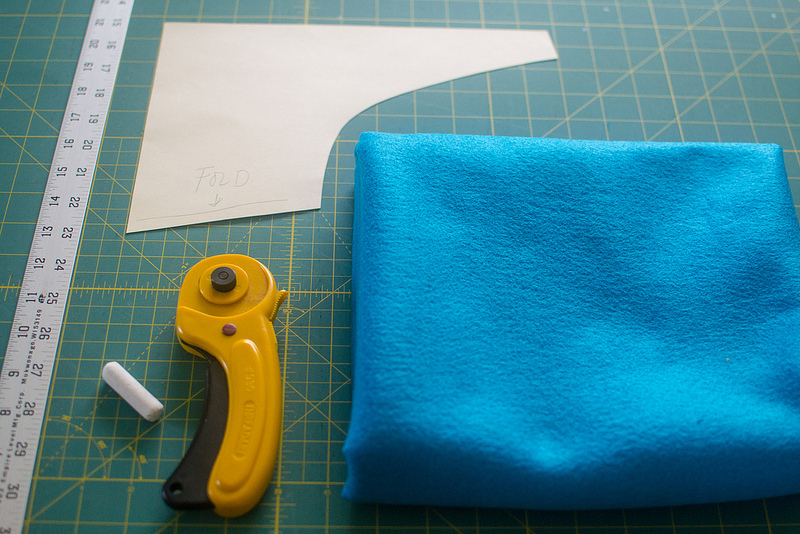
- 1 yard of Felt Fabric 72″
– this will make 3-4 capes
- Extra felt in coordinating colored felt for circles
- Silver Tissue Lame Fabric or other shiny fabric that can take some heat from ironing
- Pellon Wonder-Under Transfer Web
- A Rotary Cutter (or fabric scissors)*
- Rotary “Circle” Cutter (optional – makes cutting circles so easy!)*
- Fabric Marker or a piece of chalk you stole from your children*
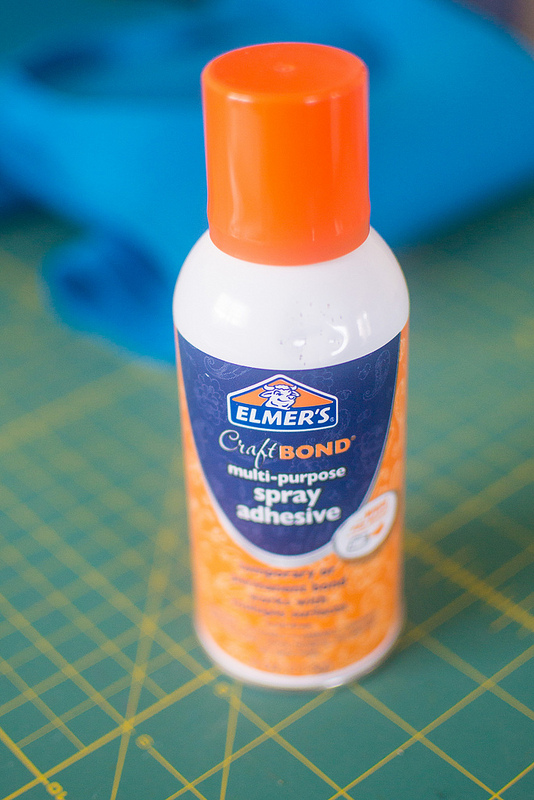
- Spray adhesive that can be used to permanently bond fabrics: I used Elmers Craft Bond Spray as that is all I had, but I believe Aleene’s Fusion Spray may be more permanent and less messy )
- Sew-on (recommended so you can hot-glue it on) Velcro strip. Or Iron-on Velcro strip.
- Templates: cape neck | circle | star – make sure to print at true size (not to “fit to page”) when printing out templates
STEP 1.
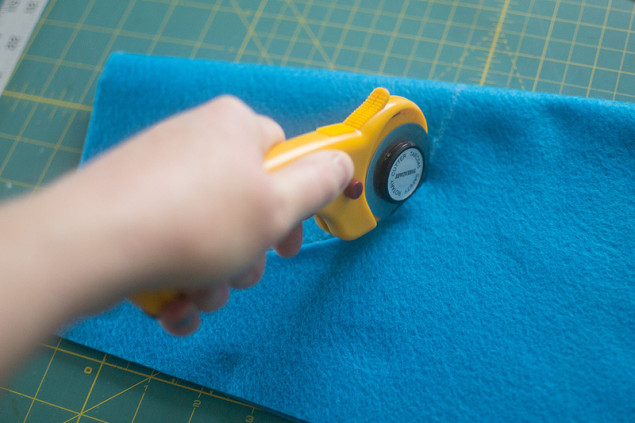
Measure and cut felt: Because I was making a bunch of these capes I bought a yard each of couple of different colors of felt and was able to cut out 3-4 capes (depending on how well I cut) from each one and use the extra yardage to also cut out the co-ordinating circles for the motif on the back.
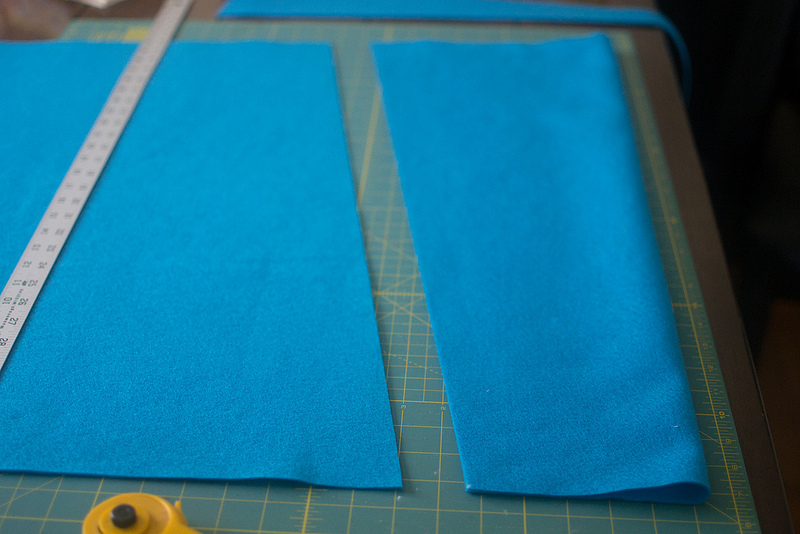
- First I measured along the short side of my felt to 27.5″ and cut up along the whole 72″ to get my capes separated from the scraps (that you will use later for the colored circles on the back).
- Then I made the first cape by measuring up 21″ on both sides and folding up to that point (giving you a 10.5″ fold), then marking 6″ up on one side and cutting along this diagonal to the other 10.5″ side.
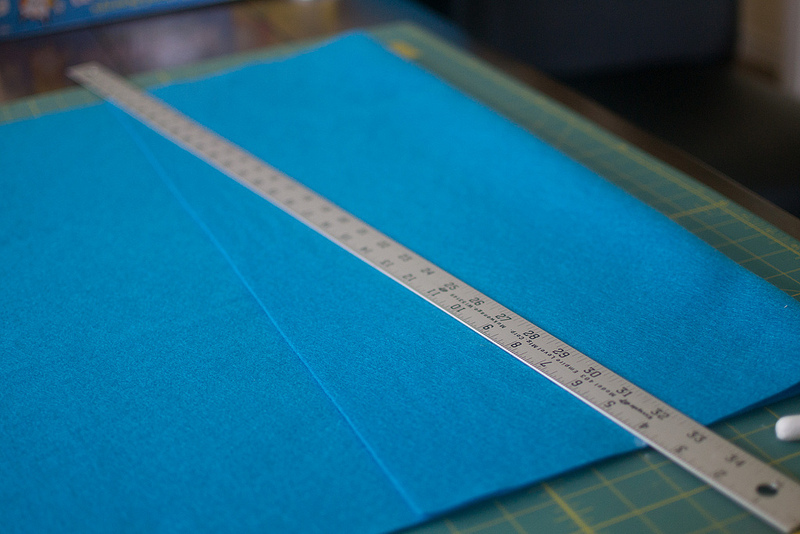
- This gives you your first cape (with a little bit of scrap) and a diagonal edge that you can just fold up to cut your next one by measuring 6″ on the short side and then cutting along the diagonal that was made from the first cape … and so on and so on till 4 capes were cut out . Each cape should be an approximate 27.5″ x 12″x 21″
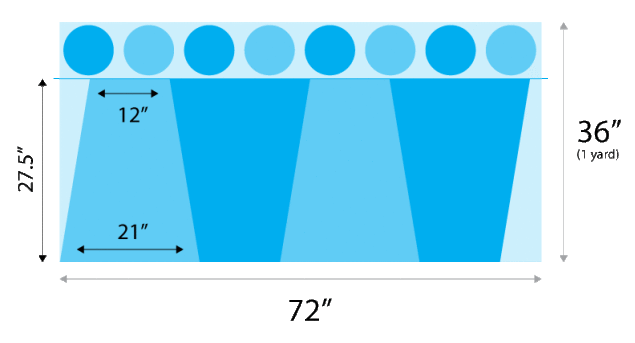 I don’t want to freak you out or overwhelm you, but if you feel brave you can click on this little graphic that I made to see how you can maximize the yard of 72″ craft felt to get as many capes as you can, but as you can see it is really tiny, it’s hardly even there, so you can just ignore it if you feel as though this is just too much detail for the casual crafter in you.
STEP 2.
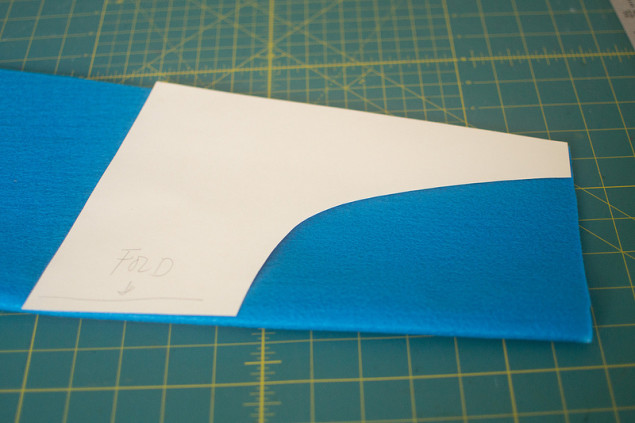
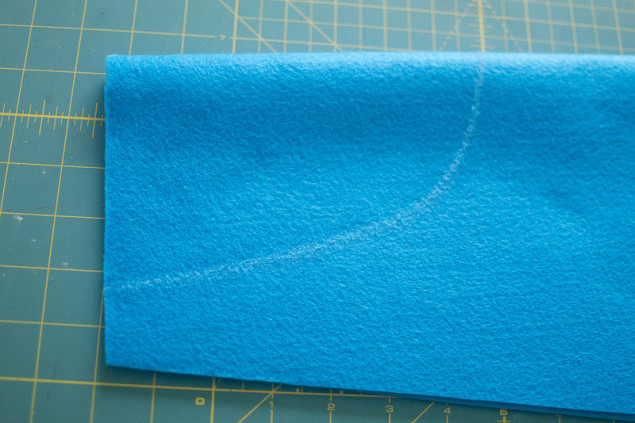
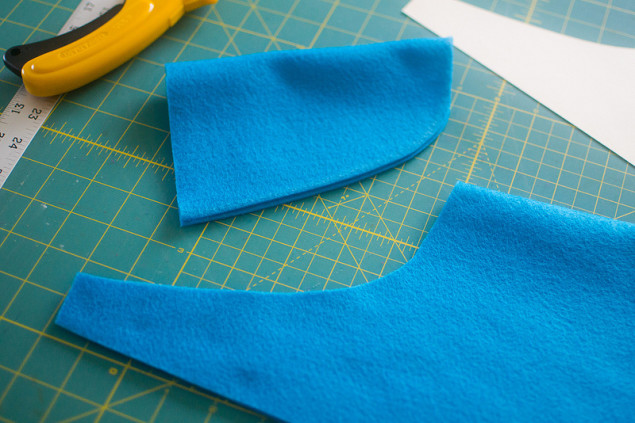
Trace and cut out neck: Keep your cut out cape folded in half and place this template down and trace to cut out for the neck of the cape. TIP: Just make sure that you place the side that says FOLD on the folded center of your cape.
I recommend creating just one first and trying it on a toddler to make sure that looks right and to your liking before going ahead and mass-producing it. My template seemed to work fine for the 3-6-year-olds I made it for if you trust me :)
STEP 3.
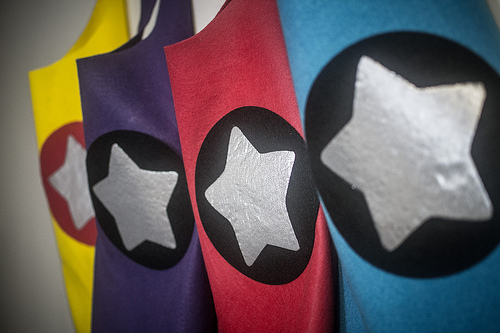
Creating the motif on the back: The kids are the superhero with the motif on these capes, I wanted to leave it open to their imagination and desires as to what kind of superhero they were so I did not want to brand them with Spiderman and Wonder Woman … ok, ok, so the Spiderman applique would have taken me 5 hours to cut out and stars have like 10 cuts, don’t judge me. But seriously, I really wanted the boys and girls to choose whatever color they wanted and invent their own super-self. Anyway, feel free to use any design you want, but here is the star and circle I used in case you want to go in this direction too.
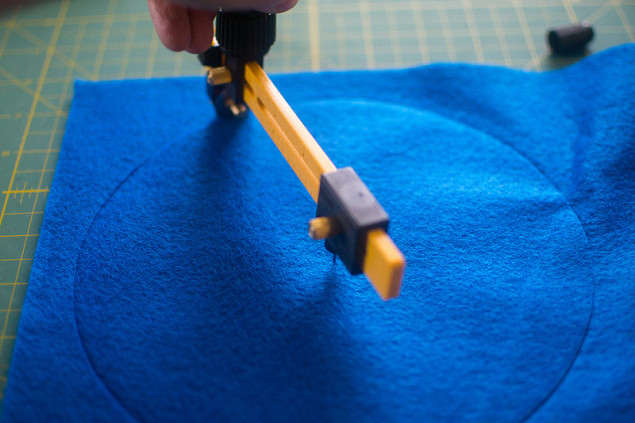
So the first step to cut out your circle, if you are using scissors feel free to use this template for a 7.5″ diameter circle. I you are using a circle cutter like the Olfa Rotary circle cutter, use a 3.75″ radius. I got mine for chrismika last year and totally forgot I had it until I started cutting these bad boys out with scissors (not that it is not hard to do with scissors, but it is a little more time-consuming). I totally recommend this tool for cutting out accurate and FAST circles and it is a breeze to use!
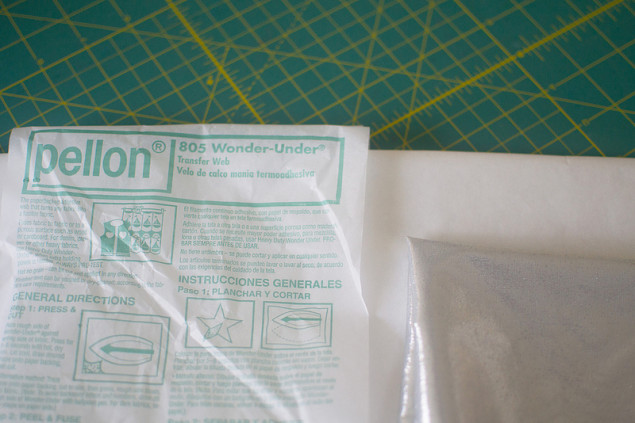
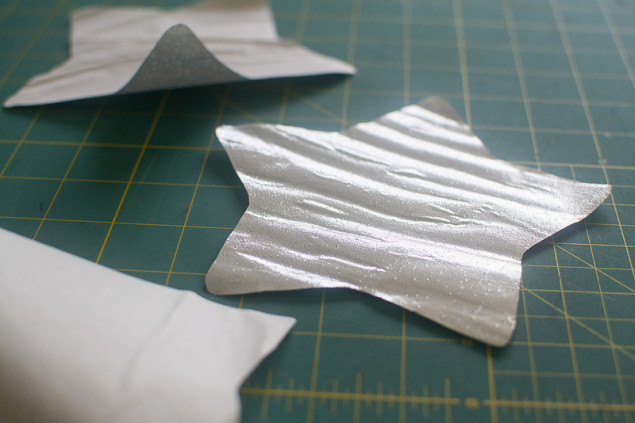
Once you have your circle you now need the star. I really liked the idea of having a silver shiny star so I opted for tissue lame fabric which is super shiny and just a little bit disco, which every superhero needs. The only problem about tissue lame is that it frays like a mo’fo’ … this is why we need the magic of Pellon Wonder-Under Transfer Web.
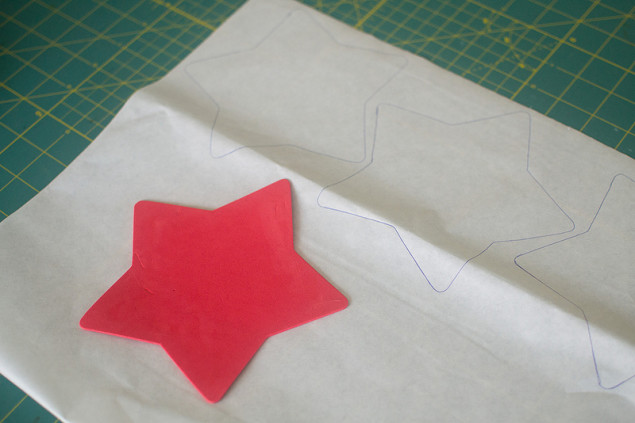
Trace your stars onto the PAPER side of your Transfer Web, you should be able to fit 3 wide, I would just trace out about 6 for now so that you don’t have a piece to big to iron in the next step.
Ironing the sandwich:
- Lay out your Pellon Transfer Web with sticky side up, traced PAPER side down on ironing board
- Place down the tissue lame (both sides seem the same to me)
- Place on thin piece of fabric (like a scrap of old cotton sheet) for iron and heat protection
- Iron slowly on “cotton” heat setting (NO STEAM) smoothing out as you go – dont worry if you get some creases, they seem to even out when you peel off the backing. On this step you CAN drag the iron around to press evenly.
Now you have your Pellon ironed onto your tissue lame and you can go ahead and cut out your shapes.
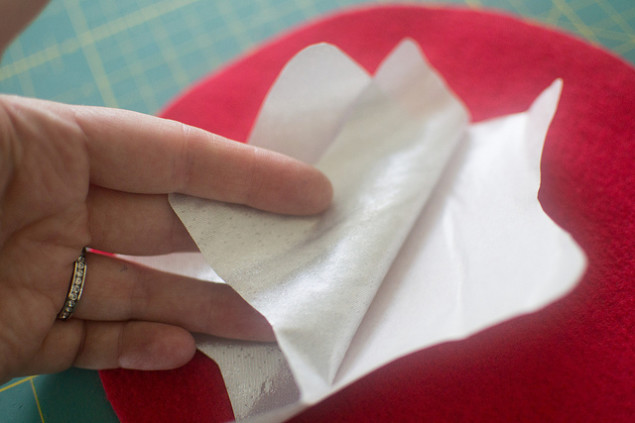
Next you want to peel off the paper backing on you star and iron it onto your felt.
- Place felt circle on ironing board
- Lay star sticky side DOWN on top of the felt
- Cover with thin cotton scrap (old sheet, tea towel etc.) again
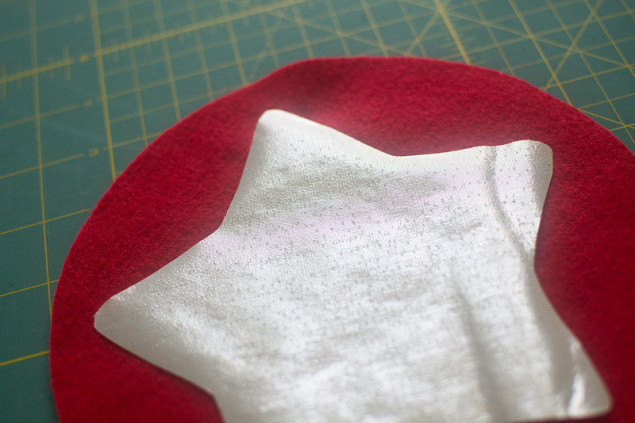
- Press down – DONT slide the iron around it will cause the lame to fray. Just press down for 4 seconds then lift and place down on another area for 4 seconds until you have covered the whole star.
STEP 4.
Sticking the motif on: I used spray adhesive to stick the motif on the back of the cape because it is faster than using the web again and ironing felt also changes the texture and color a little so you would have to iron the entire cape to make it all look and feel even. I used Elmers Craft Bond Spray and just made sure I stuck the motif on really fast (less than 15 seconds) so as not to invoke the removable qualities of this spray – just a note, this is all I had on hand, but feel free to use any other fabric adhesive you have on hand, probably one with more permanency would be preferred – I have heard good things about Aleene’s Fusion Spray from sewing friends
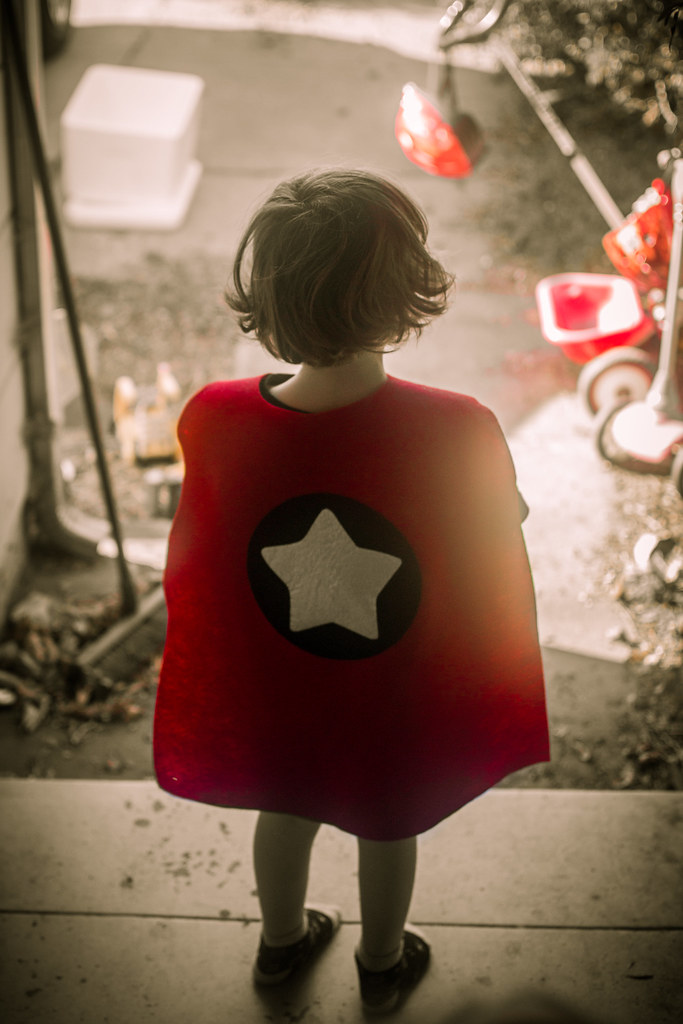
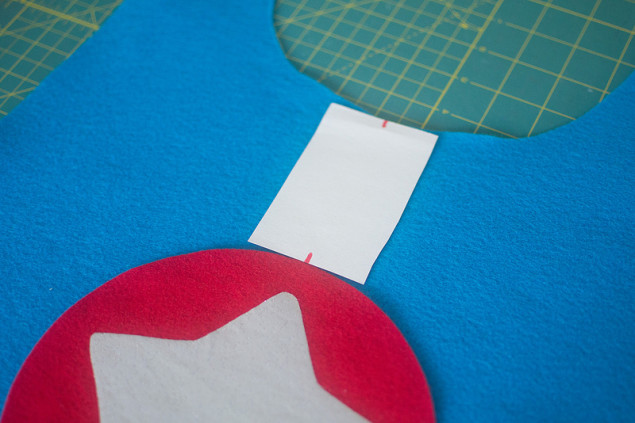
I placed my stars about 3.5″ from the neck hole, but you can place them wherever looks good to you. I created a little placeholder card to put down so that I could go outside to spray then run back in and place the circle-star really fast with some vague accuracy.
Step 5:
Final step, adding the closure: I used sticky-back velcro for my closures and I kinda regret this decision, even though I made and tested a cape the week before and the velcro held up fine it was coming unstuck on game day which was a real bummer. So, I would advise using the sew-on Velcro and affixing with hot glue or sewing on for a more lasting effect.
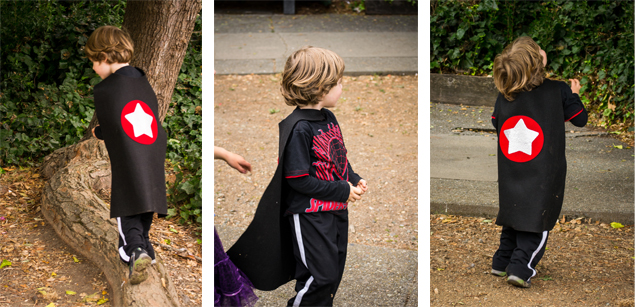
DONE – time to party!
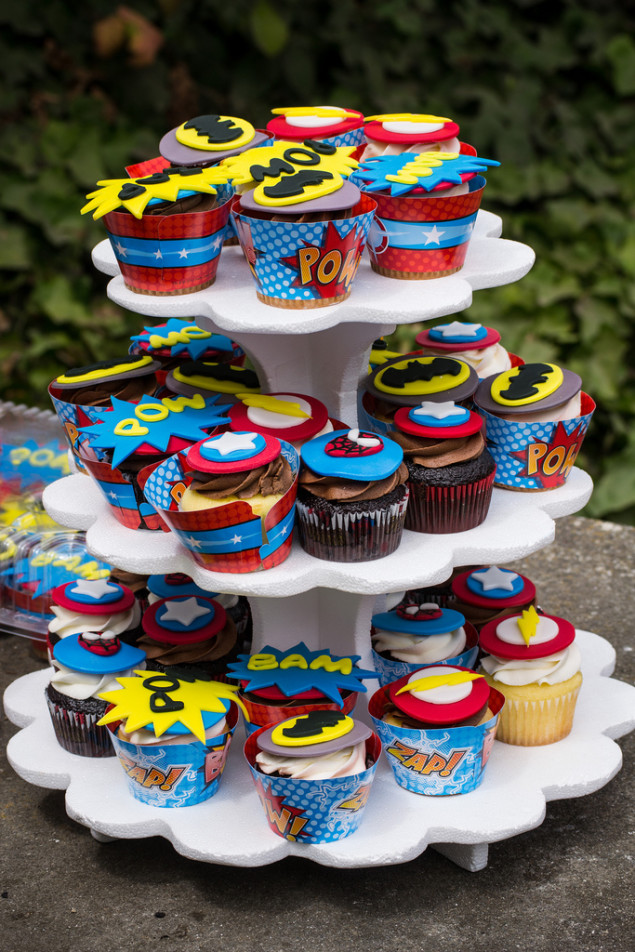
Superhero cupcakes made by our friend Yolanda Santiago
*I am an Amazon Affiliate, and purchasing ANY items using these links will help support my crafty explorations at no additional cost to you! ♥ Thank you.




What an awesome idea! The kids must have LOVED it! Great colours too.
You’ve inspired me! Thanks for the guide…I’ll let you know how they turn out. Fingers crossed
[…] a much safer option than tying around the neck. If sewing isn’t your strength check out this tutorial by Jannah at Cardiclips for a new-sew version. A cheaper alternative again is to substitute plastic […]
THanks so much for the tutorial….best one I’ve found! I’ve never worked with pellon transfer web or tissue lame fabric. I just need a little pep talk before I go out and buy it!! The metallic piece really makes the cape, but I’m nervous…ha! What do you think??? Easy even for a first timer?
I say go for it! As you can see from my stars, they were not perfect and they look all wrinkled as though the transfer web irons on wonky, but it all works out when you take off the backing and press onto the felt, just make sure not to slide the iron around on the transfer to the felt the as the tissue lame really likes to fray out. Maybe just get the smallest amount they will let you, like 1/4 or 1/8 of a yard of each and just experiment to see how it goes, I got mine using the 40% coupons at Joann’s (http://www.joann.com/coupon).
Sometimes these transfer webs seem a little intimidating, but this one that has the paper backing which is nice and straight forward as one side is covered in paper and is hard to mix up and stick it to your iron. Make sure to turn OFF the steam option on your iron and use an old sheet or thin cotton fabric to cover your tissue lame / Pelon stack and again when you transfer to the felt and you should have no problem :)
[…] No Sew Super Hero CapeAll boys love to be super heroes. This cape is nice and quick and you don’t need a sewing machine! […]
Thank you so much for these directions!! I just made them last night and they came out great thanks to your easy to follow steps :)
Thank you so much! Such clear simple directions! Just made this for my little guy for Christmas:)
Thank you for sharing your how-to with such clear guidance. It really made my son’s superhero party! The kids loved these capes. When I tested the process, I had some trouble with the pellon-backed star transferring to the circle with the iron, so we chose to use the spray adhesive instead. During the party the kids chose pre-cut cape and circle colors, then we sprayed and affixed the pieces on the spot. We also used the stick-on velcro and only had trouble with one of the capes. I loved that these turned out so well without sewing. Fun!!
What a great idea, doing the customization on the spot – thanks for the feedback :)
I came across your blog while I was looking to make my son a batman cape. Thank you so much for your directions and neck template. I’m new to sewing so I was a little worried. I used black and yellow flannel to make his cape and it came out great. Thanks again so much!!
Yay! Glad they worked out for you – using flannel is a great idea, would be ‘super’ comfy … maybe for a sleepover superhero party!
[…] No Sew Super Hero Cape All boys love to be super heroes. This cape is nice and quick and you don’t need a sewing machine! […]
[…] but I wasn’t up for sewing and was trying to keep the DIY to a minimum when I came across this tutorial that shows you how to cut a cape from felt! It was so simple, I hammered out blue and red […]
This is the BEST superhero capes tutorial! I searched high and low and Jannah’s was the only one with really good step by step (and a template) instructions. Great party pics too! I customized our capes using my cricut with iron on glitter so each child had a personalized cape with the first letter of their name on it. Really fun! http://www.thepolkadotlane.com
What are the dimensions of your template for the neckline? Really appreciate your detailed instructions..I’m a little vague though with understanding the neck cut.
Thanks for your thoughtfulness in sharing
fantastic ideas.! I am sure the fabric exchange has so many choices of fabric for this kind of project.
[…] was requested to do again!!! I didn’t have my pattern anymore so I found one on this blog, cardiclips, it’s super easy and NO SEW, which for me and my busy life was super awesome!!! My other ones […]
Thank you for your easy to follow instructions and providing templates. I was so excited to have found your page and to have successfully made a cool cape